
Easy Baked Cheesecake 簡單芝士蛋糕
Very creamy, rich and delicious baked cheesecake, a perfect way to celebrate loved one’s birthday or just a slice to indulgent yourself.
There are thousands cheesecake recipes out there, water-bath or not? Bake at very low heat? Open the oven door for few hours? That is why I don’t wanna make all these fuss to just make a cheesecake. Seriously, life is too short to do all these to just to prevent the crack of the cheesecake. This is a very simple and direct recipe, I don’t use water-bath, just bake it and then I open the oven door for 1 hour. Let the cheesecake cool completely and then leave it chill in fridge overnight.
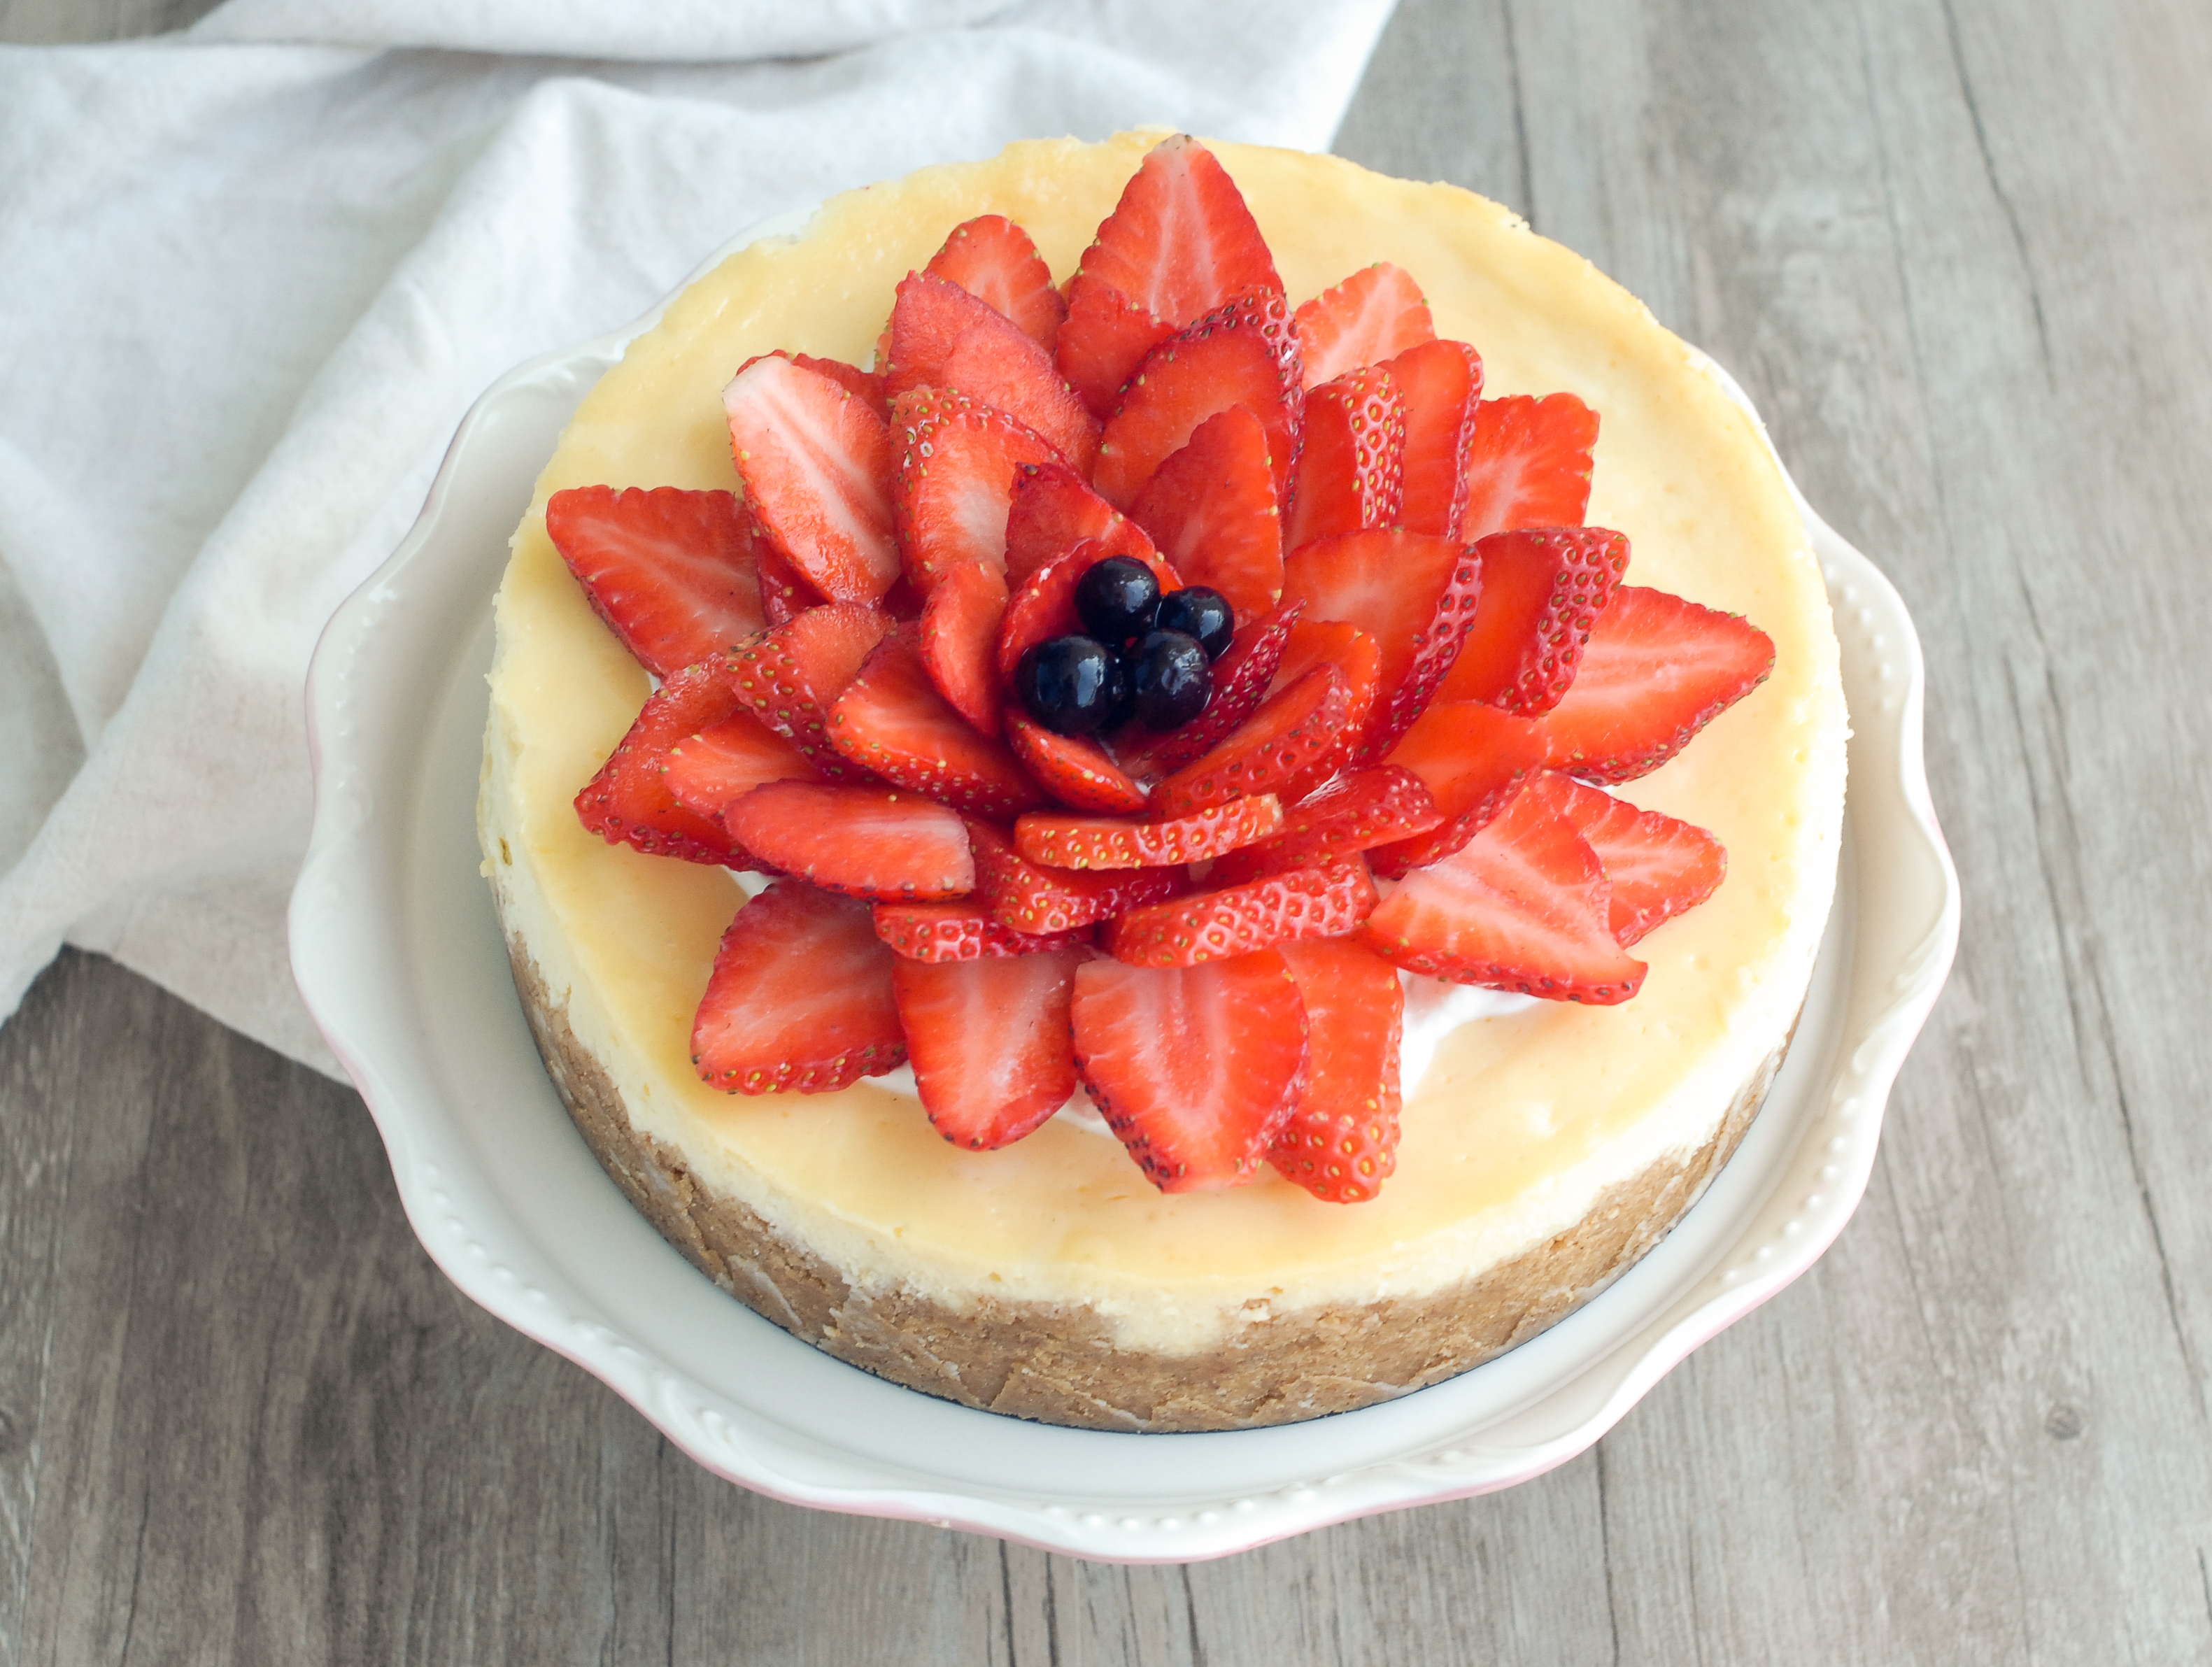
Add some fresh fruit to decorate the cake (and nobody will see any crack on the cake), it is definitely a showstopper to wow your guests.

做了這個芝士蛋糕Cheesecake 慶祝媽媽的生日![]() 🎂
🎂![]() 🎉
🎉![]() 🎊,漂亮嗎?
🎊,漂亮嗎?![]() 😌
😌![]() 😌
😌
我不太喜歡cheesecake, 總覺得好膩,但這個食譜非常清新,creamy幼滑又好味!![]() 👍
👍
這個是要焗的cheesecake, 但做法非常簡單,沒有什麼water bath (水浴法), 又不用焗幾個小時。保證烘焙新手也可輕鬆做到![]() 😎
😎![]()

For the base : Crush the digestive biscuits into crumbs, mix with melted butter. Place it into a cake tin, press it hard. Pop in preheated oven at 160C, bake for 10 minutes.
For the cheesecake: Beat the cream cheese until creamy, then add in sugar and mix well. Add in eggs, vanilla extra, lemon zest and sour cream, mix until well combined. Then add in plain flour and mix well.
Pour the batter into cake tin, bake at 160C for 1 hour and 10 minute. The edge of the cake is solid and the centre a bit soft. Open half of the oven door to let it cool down for 30 to 40 minutes, this can prevent the crack on the surface.
Then take the cheesecake out from oven, then let it cool completely and chill in the fridge overnight. You can put some jam or sour cream on top and place some fresh fruit for decoration. Enjoy!
* I used 7 inch cake tin
將所有材料放在室溫備用,雞蛋如放在雪櫃,要預先一小時拿出。
餅底做法:將餅乾用攪拌機或擀麵棒壓碎,然後與溶化牛油拌勻。將餅乾碎倒入烤盤內,平均鋪好、壓實,放入已預熱160度C焗爐,焗10分鐘,備用。
用電動打蛋器打發忌廉芝士,然後加入細砂糖拌勻,打發至乳霜狀。加入酸奶油、雞蛋、香草精和檸檬皮屑,拌勻,再加入麵粉拌勻。
將蛋糕糊倒入模具,放入已預熱160度C焗爐,焗約1個小時10分鐘,然後打開一半烤箱門(約30 -40 分鐘),這可減少因急速轉變溫度而引致有裂紋出現。蛋糕待涼後,放入雪櫃存放一整夜,可在蛋糕面上塗一層酸忌廉或果醬,再加上水果作裝飾即可。
*我用的是7吋烤盤


- 160 gram digestive biscuits
- 60 gram melted butter
- 500 gram cream cheese
- 150 gram sugar
- 125 gram sour cream
- 2 eggs
- 1/2 teaspoon vanilla extract
- 1 teaspoon lemon zest
- 20 gram plain flour
- 忌廉芝士 500克
- 糖150克
- 酸忌廉 125克
- 雞蛋 2隻
- 雲尼拿香油 1/2 茶匙
- 檸檬皮 1茶匙
- 中筋麵粉20克
- 餅底:
- 消化餅乾160克
- 無鹽牛油 60克
- For the base : Crush the digestive biscuits into crumbs, mix with melted butter. Place it into a cake tin, press it hard. Pop in preheated oven at 160C, bake for 10 minutes.
- For the cheesecake: Beat the cream cheese until creamy, then add in sugar and mix well. Add in eggs, vanilla extra, lemon zest and sour cream, mix until well combined. Then add in plain flour and mix well.
- Pour the batter into cake tin, bake at 160C for 1 hour and 10 minute. The edge of the cake is solid and the centre a bit soft. Open half of the oven door to let it cool down for 30 to 40 minutes, this can prevent the crack on the surface.
- Then take the cheesecake out from oven, then let it cool completely and chill in the fridge overnight. You can put some jam or sour cream on top and place some fresh fruit for decoration. Enjoy!


My New Cookbook


